Cybermoon Tracker
User guide
How to make a song in Cybermoon Tracker, from the first demo to a WAV file. In development. Not for sale yet.
Getting started
Cybermoon Tracker is a music tracker. You write music in small patterns, join the patterns into a song and play the song back. It follows the layout of LSDJ and the M8, and the whole program can be played with a gamepad.
The buttons in this guide are named by their job. On a keyboard, Edit is Z, Option is X, Play is V and the transport, which starts and stops the whole song, is Space. Every control can be changed in Config.
To hear a finished song, hold Shift and press the D-pad up from the Song screen until you reach Project. Choose one of the DEMO- projects in the Files list and open it. Demos open as editable copies, so you can change anything in them.
Press the transport button to play the whole song. Press Play to loop the phrase or chain you are on.
To quit, hold Start for about 1.5 seconds. On a keyboard, press Ctrl+Q.
Tested with the R36S, the Anbernic RG34XXSP and the AYN Thor, on ArkOS, muOS, Android, Windows, Linux and Steam Deck.
A tracker designed for any device: designed to run on handhelds as modest as the R36S.
Writing a song
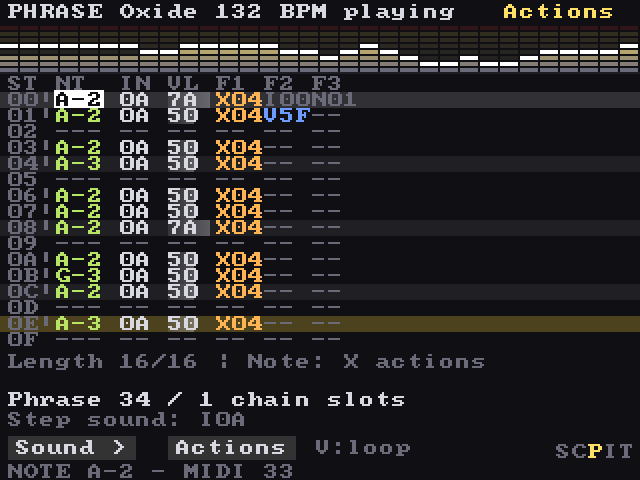
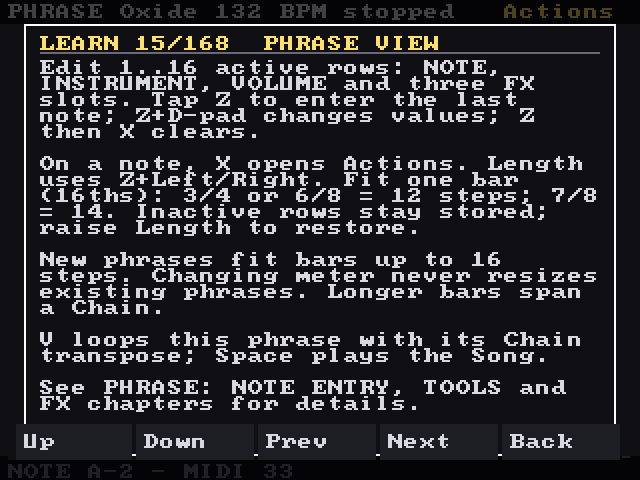
A phrase is one pattern of 16 steps. Each step holds a note, an instrument number, a volume and up to three effect commands. The length sets how many steps play. New phrases fit a bar of up to 16 steps: 3/4 and 6/8 use 12 steps, and 7/8 uses 14. Changing the time signature never resizes a phrase that already exists.
Hold Edit and press the D-pad to change a value. Up and down make large changes, an octave on a note or 16 on most numbers. Left and right make small changes, one scale note or one unit. To clear a value, step it below its minimum. To fill an empty cell, step up from empty: the default is note C-5 at volume 100.
Tap Edit on an empty note to enter the last note you set, with its instrument and volume. One step below C-0 places an OFF, which ends the sounding note with its release.
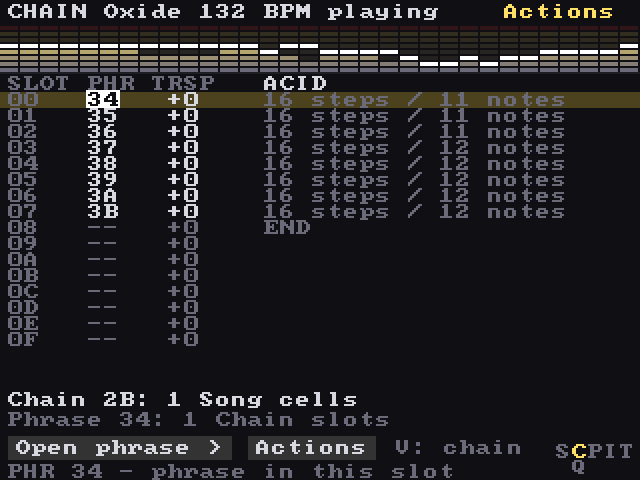
A chain is an ordered list of phrase slots. Each slot has a transpose in semitones, which shifts the whole phrase up or down. The same phrase can sit in many chains at different transposes, which is how a riff gets reused.
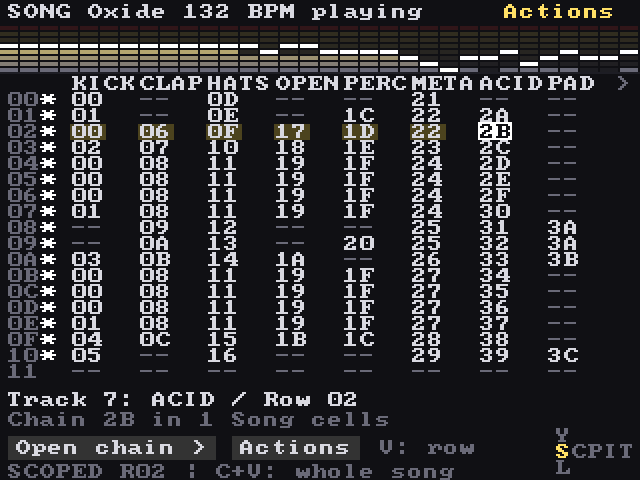
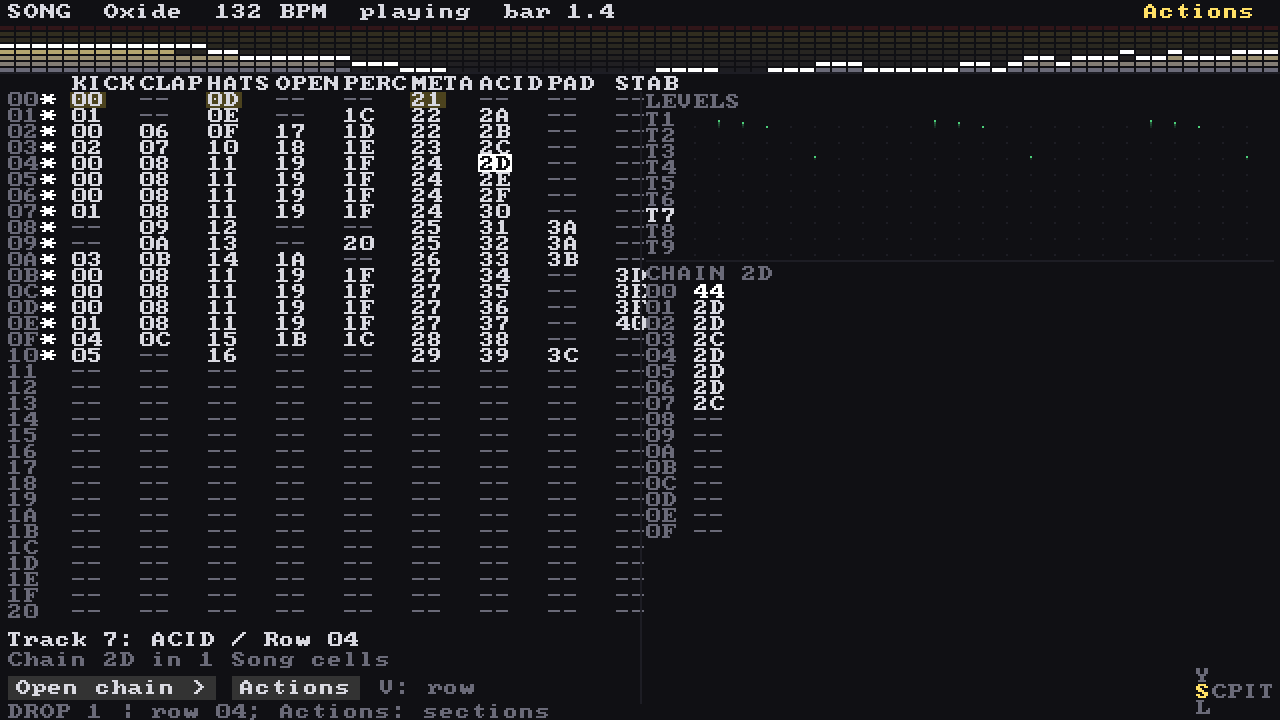
The song is a grid. Each track column is a list of chains, and each row starts one chain on every track. Each chain plays once. A shorter chain waits for the longest one in its row, then every track moves on together. An empty cell silences its track for that row, and empty rows are skipped.
On the Song screen, Play starts from the cursor row, and Shift with Play starts from the top. The transport button starts and stops the whole song.
Mute and solo are performance controls, so they are not saved with the project. Hold the mute and solo layer button, then press Play to mute the track under the cursor. Press Shift with Play to solo it.
To change several steps at once, hold Option and press Up or Down to select rows, release, then press Option to open the menu. From there you can Copy, Paste, Duplicate, Move or Transpose the selection.
Live plays chains per track by hand. Each launch waits for the bar or step count you choose, and launching does not change the arrangement.
For ideas, Loop Starter makes a loop, varies one you have, or finds a sound. Melody Workshop offers up to eight melody drafts for a phrase or chain. The phrase tools (Euclidean, random fill, interpolate, humanize, mutate and guided fill) work on the rows you select.
The features of the current build
Instruments and engines
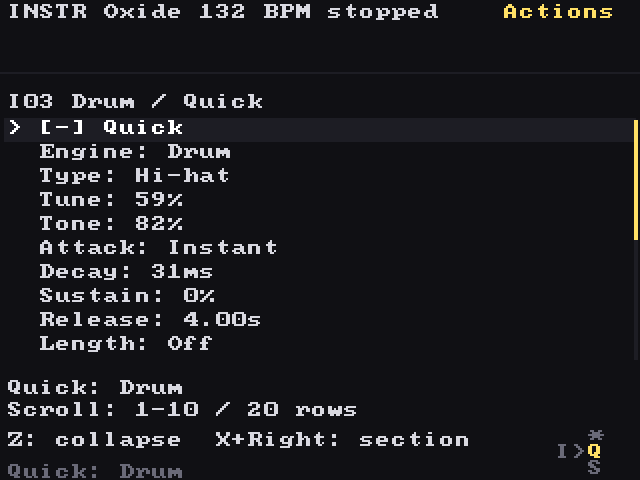
An instrument is the sound a track plays. Each instrument uses one engine, the part that makes the sound. The Instrument screen opens with a Quick section of the most useful controls. Expand a section to see every control the engine has. Play previews the sound while you edit it.
Sixteen built-in engines are included: Wavsynth, FM4, Sampler, Chiptune, Supersaw, Phase Distortion, Karplus-Strong, Analog Drum, Wavefolder, Hard Sync, Plaits, Braids, Rings, Wavetable, Granular and XY.
Sampler plays your own WAV files, 16 or 24 bit, mono or stereo. Choose a file in the Browser and it is copied into the project, so the project keeps working when you move it. The source file is left alone.
The IDEAS page on the Instrument screen generates up to eight private patch ideas. Nothing changes until you choose one. Play listens to the idea, Original compares it with the current sound, and Use adopts it with a single Undo.
Effects and tables
Each track has three insert effect slots on the Mixer, applied after the track EQ. An empty slot does nothing. Choose an effect with Edit, then set its values in the columns beside it. The types are drive, bitcrush, tremolo, ring modulation, comb, auto-wah, gate, formant, compressor, transient shaper, chorus, flanger, phaser, filter, waveshaper, stereo widener, delay, stutter and pitch shifter. The in-app manual gives each one a short description and a setting to try.
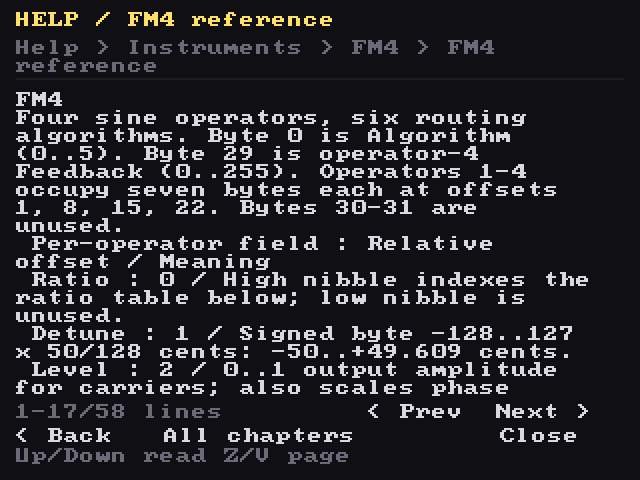
Phrase effects are commands in the three FX columns of a phrase step, and they apply at that step only. They cover volume and pan, sends to delay, reverb and chorus, pitch and vibrato, retrigger, jumping to another step, ending a note early, macros and engine settings. The Help screen has a full reference with the range of every command.
A table is a 16-step automation lane that an instrument runs on each note. Each row changes one thing: pitch, level, pan, a timbre setting or the filter cutoff. Rate sets the ticks per row, and 6 gives one row per step. Attach a table on the Instrument screen before you set its rate.
As a first example, a simple arpeggio: hold one note with a long sustain, turn the filter off, attach a table at rate 6, and repeat 0, +4, +7 and +12 across all 16 cells. The note now cycles through a major chord. Change +4 to +3 for a minor one. The offsets change the pitch of the held note. They do not trigger new notes.
A groove changes the timing of steps. It is a list of 16 tick lengths. A plain step lasts 6 ticks, and a longer one pushes the next step late, which gives the swing. Assign a groove to each track, so the drums can swing while the bass stays straight.
Mixer and levels
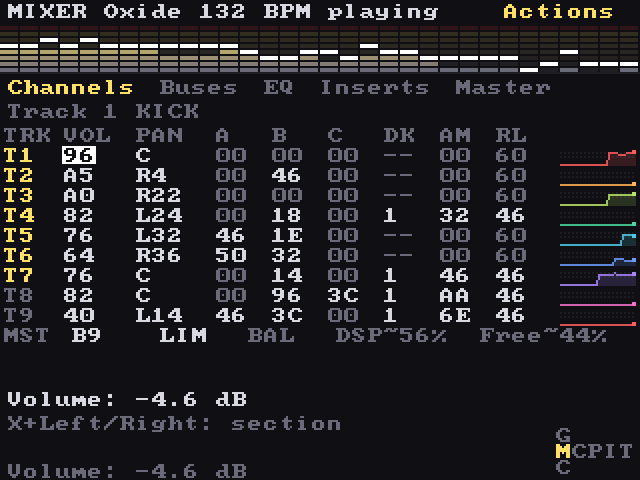
The Mixer has five tabs: Channels, Buses, EQ, Inserts and Master. The Channels tab has a row for each track, with its volume, its pan, three send amounts, and a sidechain source with its depth.
Sends A, B and C feed shared buses: A to the delay, B to the reverb, and C to a modulation effect that can be chorus, phaser or flanger. A send copies part of the track onto its bus, so the dry track still plays. The Buses tab sets how each bus sounds.
Ducking lowers one track while another plays. Pick the source track and a depth, and the level of the source ducks this track. A kick drum on track 1 can pump the bass this way.
The EQ tab has a three-band EQ for each track: a low shelf, a mid peak and a high shelf. Each band cuts or boosts by up to 12 dB.
The Master tab sets the final output level. The limiter is on by default and only acts on peaks. The readouts beside it show the quality preset, the headroom and the CPU use.
Each track row on the Mixer has a level meter. On a wide layout, the Song screen also has a LEVELS panel beside the grid, with a row for each track while the song plays.
Help inside the app
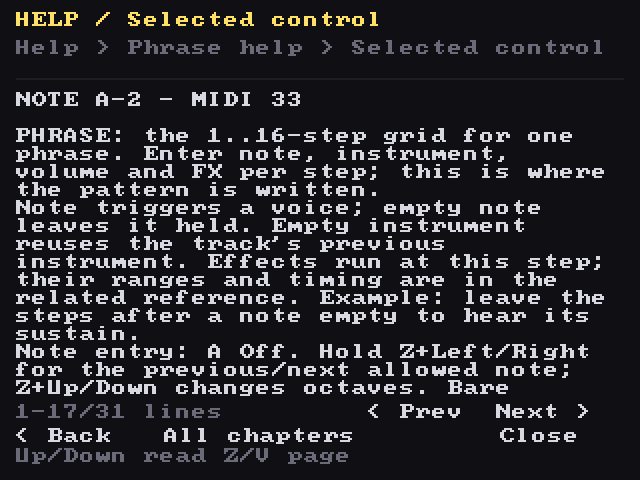
Press Help on any screen to open help for the control under the cursor. The text is written for that screen and names the buttons you use there.
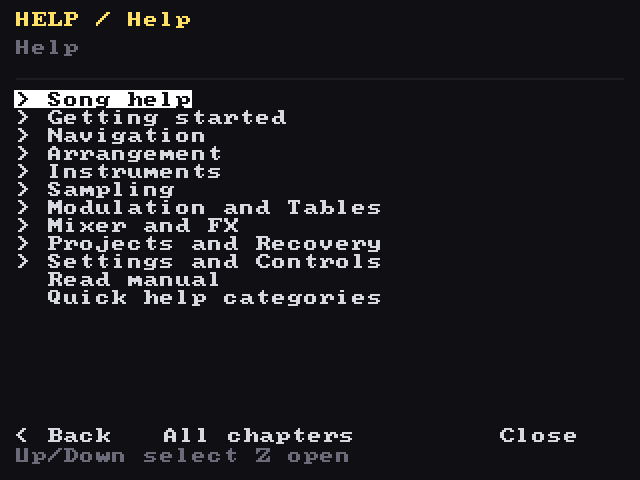
Help is organised by subject: Getting started, Navigation, Arrangement, Instruments, Sampling, Modulation and Tables, Mixer and FX, Projects and Recovery, and Settings and Controls. It also holds the engine and effect references, with the range of every control.
Read manual opens the full manual as a page reader, with a chapter for each screen. To open the manual at the chapter for the screen you are on, choose This screen in Help.
The manual and the references are inside the app, so they work offline.
Saving, projects and export
Each project is a folder with the project file, a samples folder, a journal and the snapshots. To back up a project or move it to another SD card, copy the whole folder. Nothing needs exporting first.
Every edit goes into the journal as you make it. If the power fails in the middle of an edit, the journal replays your unsaved edits the next time you open the project. To save now, choose Save current project from the Project menu or from Actions. Quitting also saves.
A snapshot is a copy of the project at one moment. Take one from the Edit menu with Snapshot now. Restoring a snapshot returns the project to exactly how it was at that point. Up to 32 snapshots are kept, and the oldest is removed first.
The Timeline lists every edit, with checkpoints for saves, session starts and the marks you add. Return here sets the project back to any earlier point, and that step can be undone too.
Render writes the song to WAV files. Choose stems to get the master mix plus one file per track, then set the start and end rows, the number of repeats and the tail length. On a keyboard, Render is R. Exports keep their full level, so the Output Boost setting does not change them.
Resample captures the track or chain under the cursor into a free sample slot, so you can use it as material.
Settings and controls
Config holds the display, control and app settings. Press Shift with right to enter a category, and Shift with left or plain left to go back. Hold Edit with left or right to change a value.
Display sets the colour theme, whether instruments are coloured, readable mode, and the visualizer style for the top strip. You can add your own theme files.
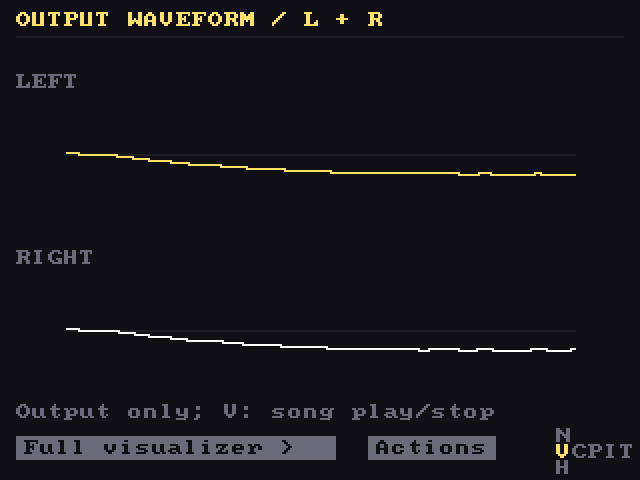
Visualizers can be switched off. Each screen can show its own band, or none. Pick one with Shift and Help, or from the Visualizer settings. A profile sets every screen at once: Everything, Performance or Minimal. Choose Off to give the rows back to the editor.
Output Boost, under Audio, adds 0 to 24 dB to playback in 1 dB steps. It is 0 dB by default. Peak protection stops the output from clipping. The setting is saved in the app preferences, not in the project.
Quality is set per project in Project settings, on the QUALITY tab: Eco, Balanced or Max. Eco uses a lighter reverb and fewer voices, and Max uses the richest reverb. Balanced is the default.
To change a control, press Edit on its row in Config, then press the new key or pad button. Keyboard and gamepad bindings are kept apart, so changing one leaves the other alone. Reset binding to default, under the Option menu, restores a row. Config refuses any layout that would leave you unable to move or to open Config.
An optional second-display setting, off by default, opens a read-only companion window on a second screen. The main window always has the full editor.